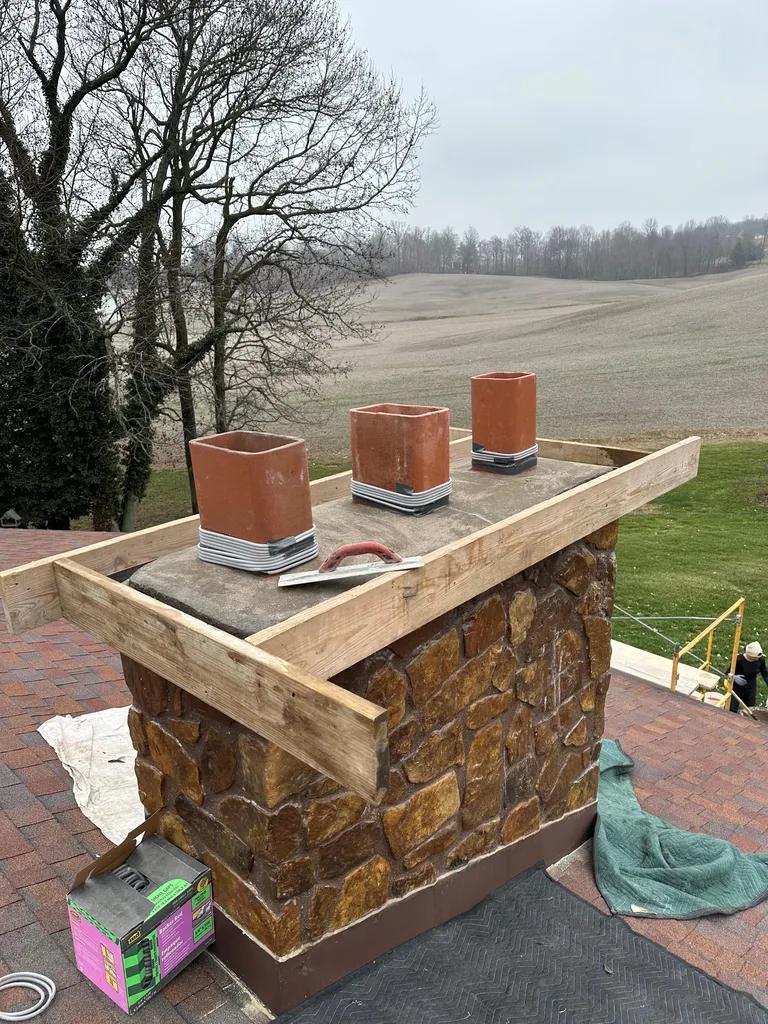
In the world of brick masonry, cracks can be a common occurrence that may impact the structural integrity and aesthetic appeal of a building. To ensure the longevity and stability of brick structures, it is essential to address and repair any cracks promptly and effectively. In this comprehensive guide, we will outline the professional techniques and tools required to successfully fill brick cracks, providing valuable insights for homeowners, contractors, and brick masons alike. Whether you are tackling a small crack or a more extensive issue, this article will equip you with the knowledge and expertise needed to achieve lasting results.
Table of Contents
- Identifying the Types and Causes of Brick Cracks
- Tools and Materials Needed for Effective Crack Filling
- Step-by-Step Instructions for Properly Filling Brick Cracks
- Additional Tips and Maintenance Recommendations for Long-lasting Results
- Q&A
- The Conclusion

Identifying the Types and Causes of Brick Cracks
Identifying the different types of brick cracks is crucial in order to determine the underlying causes and apply the appropriate solutions. There are several common types of brick cracks that can occur, each with its own distinct characteristics:
- Vertical Cracks: These cracks typically run along the length of the brick and are often caused by settlement or thermal expansion.
- Horizontal Cracks: These cracks usually indicate structural issues, such as excessive loading or poor foundation support.
- Stair-step Cracks: These cracks form a pattern resembling a staircase and are commonly found in older brick structures due to settling.
Understanding the causes of brick cracks is essential for implementing effective repairs and preventing future damage. Some common causes of brick cracks include:
- Poor Construction: Inadequate mortar mix or improper installation techniques can lead to weakened brickwork.
- Moisture Damage: Water infiltration can erode the mortar joints and cause the bricks to shift, leading to cracks.
- Settling and Shifting: Changes in the soil beneath the foundation can cause the structure to settle unevenly, resulting in cracks.

Tools and Materials Needed for Effective Crack Filling
When it comes to filling cracks in brick surfaces, it is essential to have the right tools and materials to ensure a professional finish. Here is a list of items you will need to effectively fill brick cracks:
- Brick Sealer: A high-quality brick sealer is essential for ensuring the longevity of the crack repair.
- Masonry Chisel: Use a masonry chisel to clean out the crack and provide a smooth surface for the filler.
- Mixing Container: A sturdy mixing container is needed to mix the filler material to the right consistency.
- Brick Filler: Choose a filler specifically designed for brick surfaces to ensure a strong bond with the existing brick.
In addition to these tools and materials, you may also need a trowel, gloves, safety goggles, and a brush for cleaning up any excess filler. By using the right tools and materials, you can effectively fill cracks in brick surfaces and restore the appearance and integrity of the structure.

Step-by-Step Instructions for Properly Filling Brick Cracks
When it comes to properly filling brick cracks, it’s essential to follow a systematic approach to ensure a durable and long-lasting repair. Here are the step-by-step instructions to guide you through the process:
- Assessment: Begin by thoroughly inspecting the brick surface to identify the location and extent of the cracks. This will help determine the appropriate materials and techniques needed for the repair.
- Preparation: Clean the cracked area with a wire brush to remove any debris, dust, or loose particles. Ensure the surface is dry and free from any moisture before proceeding with the repair.

Additional Tips and Maintenance Recommendations for Long-lasting Results
It is essential to regularly inspect your brick surfaces and fill any cracks promptly to prevent further damage. To ensure long-lasting results, follow these additional tips and maintenance recommendations:
- Use high-quality materials: Invest in premium caulking or mortar to fill cracks effectively.
- Apply sealant: After filling the cracks, apply a waterproof sealant to protect the bricks from moisture and weather damage.
- Monitor and maintain: Regularly inspect the filled cracks and touch up any areas that may need reinforcement.
Remember, proper maintenance is key to preserving the integrity of your brick surfaces and ensuring they look their best for years to come. By following these tips and recommendations, you can achieve professional results and enjoy a beautifully restored brick exterior.
Q&A
Q: Why is it important to fill cracks in bricks?
A: Filling cracks in bricks is important to maintain the structural integrity of the building and prevent further damage from occurring.
Q: What materials do I need to fill brick cracks?
A: You will need a brick repair compound, a putty knife, a wire brush, and a brick jointer for filling brick cracks.
Q: How do I prepare the cracked brick before filling it?
A: Before filling the crack, you should clean the area with a wire brush to remove any loose debris and dirt. This will ensure that the repair compound adheres properly to the brick.
Q: How do I fill the crack in the brick?
A: Using a putty knife, apply the brick repair compound into the crack, making sure to fill it completely. Smooth out the surface with the putty knife, and use a brick jointer to match the texture of the surrounding bricks.
Q: How long does it take for the brick repair compound to dry?
A: The drying time for the brick repair compound will vary depending on the product used, but typically it takes 24-48 hours for the compound to fully cure.
Q: Are there any additional steps I should take after filling the crack?
A: It is recommended to seal the repaired area with a waterproof sealant to prevent moisture from seeping into the crack and causing further damage.
Q: Can I paint over the repaired area?
A: Yes, once the brick repair compound has fully cured, you can paint over the repaired area to match the color of the surrounding bricks.
The Conclusion
In conclusion, addressing and repairing brick cracks is a critical maintenance task that should not be overlooked. By following the professional guide outlined in this article, you can effectively fill brick cracks and prevent further damage to your structure. Remember to always prioritize safety and use the recommended tools and materials for the best results. Maintaining the integrity of your brickwork will not only enhance the appearance of your property but also extend its lifespan. Thank you for reading, and we hope this guide has been helpful in your brick repair endeavors. Stay tuned for more informative articles on effective maintenance practices for your home or building.


