

Tuckpointing, a vital skill in brick masonry, involves repairing mortar joints between bricks to enhance both the aesthetics and structural integrity of a building. Mastering the art of tuckpoint brick repair requires precision, patience, and attention to detail. In this article, we will explore the essential techniques and tools needed to effectively execute tuckpointing, offering valuable insights for professionals and enthusiasts alike looking to achieve flawless results.
Table of Contents
- Understanding the Importance of Tuckpoint Brick Repair
- Key Tools and Materials for Successful Tuckpointing
- Step-by-Step Guide to
- Tips and Tricks for Achieving Seamless Tuckpointing Results
- Q&A
- Closing Remarks

Understanding the Importance of Tuckpoint Brick Repair
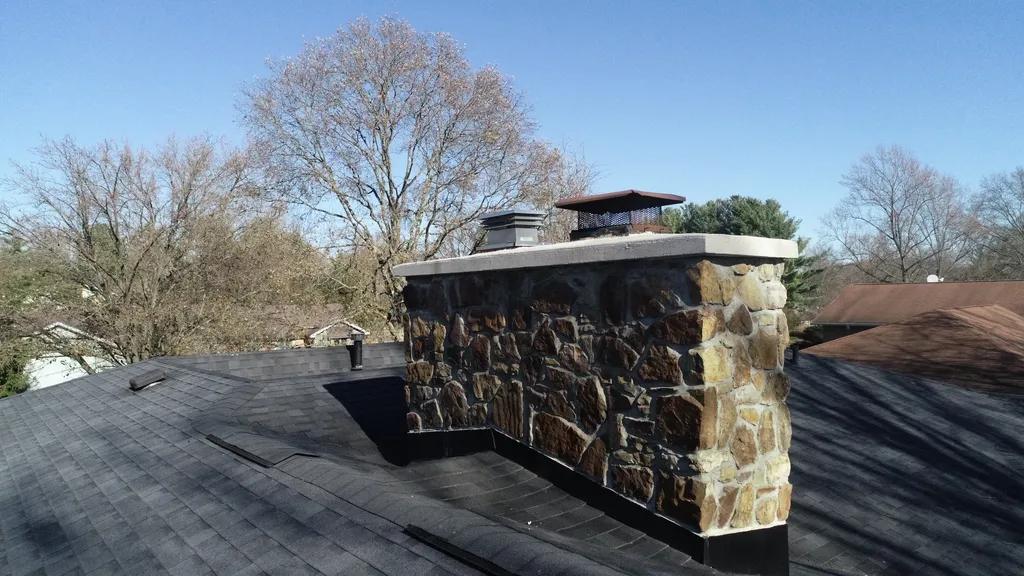
Tuckpoint brick repair is a crucial aspect of maintaining the structural integrity and aesthetics of a building. By understanding the importance of this process, you can ensure that your property remains in top condition for years to come. Tuckpointing not only enhances the appearance of your brickwork but also helps to prevent further damage and deterioration.
One of the key benefits of tuckpoint brick repair is that it helps to secure loose or damaged bricks, preventing water and moisture from seeping into the walls. This can help to prevent mold growth, water damage, and structural issues over time. Additionally, tuckpointing can help to maintain the value of your property by keeping the exterior looking well-maintained and visually appealing. Investing in regular tuckpointing can save you time and money in the long run by preventing costly repairs and renovations down the line.
Key Tools and Materials for Successful Tuckpointing
When it comes to mastering tuckpoint brick repair, having the right tools and materials is essential. Here are some key items you’ll need to ensure a successful tuckpointing project:
- Tuckpointing Trowel: A narrow, flat trowel with a pointed tip for applying and shaping mortar.
- Pointing Iron: Used for removing old mortar from between bricks to prepare for new mortar.
- Masonry Brush: Helps to clean out joints and ensure a proper bond for the new mortar.
- Mortar Mix: High-quality mortar mix that matches the color and composition of the existing mortar.
| Tool/Material | Description |
|---|---|
| Tuckpointing Trowel | Narrow, flat trowel for applying and shaping mortar. |
| Pointing Iron | Used for removing old mortar from between bricks. |
| Masonry Brush | Helps to clean out joints for a proper bond for new mortar. |
| Mortar Mix | High-quality mix that matches existing mortar color. |
Step-by-Step Guide to
When it comes to tuckpoint brick repair, mastering the technique is essential to ensure the structural integrity and aesthetic appeal of your brickwork. Follow this step-by-step guide to learn how to effectively tackle tuckpointing like a pro.
First, gather all the necessary tools and materials for the job, including a pointing trowel, mortar mix, stiff brush, safety goggles, and gloves. Next, carefully remove the old mortar from the joints using a chisel and hammer, making sure to clean out any debris or dust. Then, mix the mortar according to the manufacturer’s instructions, ensuring that it has the right consistency for easy application. Using your pointing trowel, fill the joints with the new mortar, making sure to press it firmly into place. Finally, use a stiff brush to smooth out the mortar and create clean, crisp lines. Repeat this process for each section of brickwork until the repair is complete. With practice and patience, you’ll soon become a master of tuckpoint brick repair.
Tips and Tricks for Achieving Seamless Tuckpointing Results
When it comes to achieving flawless tuckpointing results, attention to detail is key. Start by carefully removing any deteriorating mortar and cleaning the joints to ensure a solid foundation for the new mortar. Use a pointing trowel to fill the joints with a 1:3 mortar mix of portland cement and sand. Make sure to match the color of the existing mortar for a seamless finish. Press the mortar into the joints firmly and scrape away any excess with a pointing trowel for a clean look.
- Choose the right tools: Invest in high-quality pointing trowels, mortar mix, and brushes for a professional finish.
- Take your time: Rushing through the tuckpointing process can lead to sloppy results. Take the time to ensure each joint is filled properly.
- Practice makes perfect: Tuckpointing is a skill that improves with practice. Don’t be discouraged if your first few attempts aren’t perfect – keep practicing!
| Material | Price |
|---|---|
| Mortar Mix | $10 |
| Pointing Trowel | $15 |
| Brushes | $5 |
Q&A
Q: What is tuckpointing?
A: Tuckpointing is a process used to repair and refresh the mortar joints between bricks by removing deteriorated mortar and replacing it with new mortar.
Q: Why is tuckpointing important?
A: Tuckpointing helps maintain the structural integrity of a brick wall or chimney by preventing water intrusion and further damage to the bricks.
Q: How do you master tuckpoint brick repair?
A: To master tuckpoint brick repair, you should start by practicing on a small area to get the hang of the technique, use the right tools, and ensure that the new mortar matches the color of the existing mortar.
Q: What tools are needed for tuckpoint brick repair?
A: Some of the tools needed for tuckpoint brick repair include a pointing trowel, mortar hawk, mortar mix, brick jointer, and a stiff brush.
Q: How often should tuckpoint brick repair be done?
A: Tuckpoint brick repair should be done as soon as you notice deteriorating mortar joints to prevent further damage to the bricks and ensure the structural integrity of the wall or chimney.
Q: Can tuckpoint brick repair be performed by homeowners?
A: Yes, tuckpoint brick repair can be performed by homeowners, but it is recommended to seek professional help if you are unsure of the process or lack experience in masonry work.
Closing Remarks
In conclusion, mastering tuckpoint brick repair is a valuable skill that can help preserve the integrity and aesthetics of your brick structures. By following the steps outlined in this article and practicing proper technique, you can achieve professional-looking results that will stand the test of time. Remember to always prioritize safety, use quality materials, and take your time to ensure a job well done. With patience and dedication, you can become proficient in tuckpoint brick repair and maintain the beauty and functionality of your brickwork for years to come. Thank you for reading and best of luck in your repair endeavors.