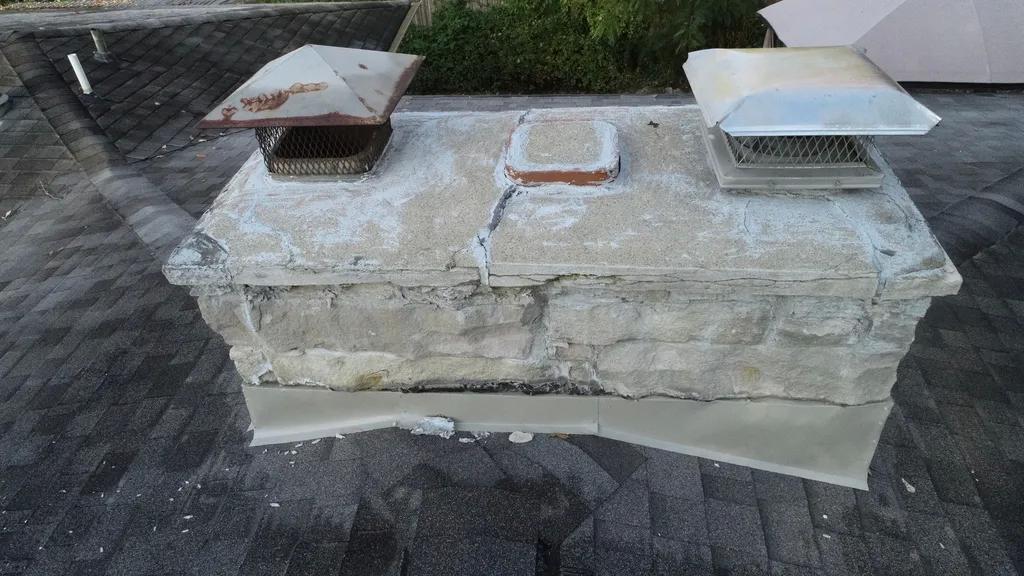
Fireplaces are a beloved feature in many homes, providing warmth and ambiance during the colder months. However, over time, the mortar that holds the bricks or stones of a fireplace together can deteriorate, leading to potential safety hazards and aesthetic issues. In this professional guide, we will explore the step-by-step process of repairing fireplace mortar, ensuring that your fireplace remains both functional and visually appealing. Whether you are a seasoned DIY enthusiast or a homeowner looking to tackle this project for the first time, this comprehensive guide will equip you with the knowledge and skills necessary to successfully restore your fireplace to its former glory.
Table of Contents
- Key materials needed for repairing fireplace mortar
- Step-by-step guide for removing damaged mortar
- Proven techniques for applying new mortar to the fireplace
- Top tips for sealing and finishing repaired mortar
- Q&A
- In Summary

Key materials needed for repairing fireplace mortar
When it comes to repairing fireplace mortar, it is essential to have the right materials on hand to ensure a successful and long-lasting repair. Here are the key materials you will need:
- Furnace Cement: A high-temperature mortar that is specifically designed for fireplace repair.
- Firebrick: Replacement bricks that may be needed for more extensive repairs.
- Masonry Trowel: A flat, metal tool used for applying and smoothing mortar.
- Wire Brush: Used for cleaning out any loose or damaged mortar before applying the new mixture.
Having these materials on hand will help you tackle any fireplace mortar repair with confidence and precision. Remember to follow the manufacturer’s instructions for each product to ensure a safe and effective repair.

Step-by-step guide for removing damaged mortar
To effectively repair damaged mortar in your fireplace, follow these step-by-step instructions. First, carefully examine the mortar joints to identify any areas that are cracked, crumbling, or otherwise deteriorating. Once you have located the damaged sections, gather your tools and materials, including a hammer, chisel, mortar mix, water, and a trowel.
Next, carefully remove the damaged mortar by using the hammer and chisel to chip away at the crumbling areas. Be sure to only remove the damaged sections, leaving the surrounding mortar intact to maintain the structure’s stability. After clearing out the damaged mortar, mix the new mortar according to the manufacturer’s instructions. Using a trowel, apply the fresh mortar to the joints, smoothing it out to match the existing mortar. Allow the repaired mortar to dry completely before using the fireplace again.
Proven techniques for applying new mortar to the fireplace
When it comes to repairing fireplace mortar, there are several proven techniques that professionals use to ensure a long-lasting and seamless finish. One effective method is to carefully remove any loose or damaged mortar from the joints using a chisel or wire brush. This will create a clean surface for the new mortar to adhere to. Next, mix up a batch of heat-resistant mortar according to the manufacturer’s instructions. Be sure to wear safety goggles and gloves during this process.
Once the mortar is mixed, use a trowel to apply it to the joints, pressing firmly to ensure a tight seal. For a neater finish, you can also use a pointing tool to smooth out the mortar and create clean, crisp lines. Allow the mortar to cure for the recommended time before lighting a fire in the fireplace. Following these professional techniques will help you achieve a sturdy and visually appealing repair job on your fireplace.

Top tips for sealing and finishing repaired mortar
When it comes to sealing and finishing repaired mortar, there are a few key tips to keep in mind to ensure a professional and long-lasting result. First and foremost, make sure the repaired mortar is completely dry before applying any sealant or finish. This will prevent any moisture from being trapped inside, leading to potential issues down the line.
Additionally, consider using a high-quality sealant specifically designed for mortar repair. This will help to ensure a strong bond and protection against the elements. Finally, don’t forget to apply a finish to match the existing mortar color for a seamless repair.
Q&A
Q: Why is it important to repair fireplace mortar?
A: Repairing fireplace mortar is important to maintain the structural integrity of your fireplace and prevent potential fire hazards.
Q: What are the common signs that indicate mortar repair is needed?
A: Cracks, gaps, or deterioration in the mortar joints are common signs that indicate it’s time for repair.
Q: How can one tell if the mortar needs to be repaired or replaced completely?
A: If the mortar joints are deep, crumbling, or uneven, it is best to replace the mortar completely. If the joints just have minor cracks or gaps, then repair is sufficient.
Q: What tools and materials are needed for repairing fireplace mortar?
A: You will need a chisel, hammer, wire brush, mortar mix, trowel, water, and safety gear such as gloves and goggles.
Q: What is the process for repairing fireplace mortar?
A: The process involves removing the old mortar, cleaning the joints, applying new mortar mix, and finishing with smoothing and curing.
Q: Are there any safety precautions to keep in mind when repairing fireplace mortar?
A: Yes, it is important to wear safety gear, work in a well-ventilated area, and to follow proper instructions for handling mortar mix.
Q: How often should fireplace mortar be inspected and repaired?
A: It is recommended to inspect mortar joints annually and repair as needed to prevent further damage and maintain the safety of the fireplace.
Q: Can I DIY fireplace mortar repair or should I hire a professional?
A: DIY repair is possible for minor issues, but if you are unsure or if the damage is extensive, it is best to hire a professional for a thorough and safe repair job.
In Summary
In conclusion, repairing fireplace mortar can be a straightforward process when following these professional guidelines. By carefully assessing the condition of the mortar, using the right materials, and applying proper techniques, you can effectively restore the integrity and safety of your fireplace. Remember to prioritize regular maintenance and inspections to prevent future damage and ensure the longevity of your fireplace. With the knowledge and skills gained from this guide, you can confidently tackle any repair job with precision and expertise. Thank you for reading, and best of luck with your fireplace restoration project.


