

In the world of construction and maintenance, filling holes in brick surfaces is a common task that requires careful attention to detail and technique. Whether repairing damage from drilling holes for anchors or patching up chips and cracks, proper filling of brick is essential for maintaining the structural integrity and appearance of the surface. In this article, we will provide you with a step-by-step guide on how to properly fill a hole in brick, ensuring a seamless and professional finish.
Table of Contents
- – Understanding the Types of Brick Holes and Their Causes
- - Steps to Prepare the Brick Surface for Filling
- – Choosing the Right Filling Material for Brick Holes
- – Proper Techniques for Filling and Finishing Brick Holes
- Q&A
- Key Takeaways

– Understanding the Types of Brick Holes and Their Causes
Brick holes are a common issue that can affect the appearance and structural integrity of a building. Understanding the types of brick holes and their causes is essential for properly addressing this issue. By identifying the root cause of the hole, you can determine the best method for filling and repairing it.
<p>There are several types of brick holes, including:</p>


<ul>

    <li><b>Spider Holes:</b> Small holes caused by spider nests or insects burrowing into the brick.</li>

    <li><b>Blow Holes:</b> Larger holes caused by air or gas bubbles trapped in the brick during manufacturing.</li>

    <li><b>Weathering Holes:</b> Holes that develop over time due to exposure to the elements.</li>

</ul>
– Steps to Prepare the Brick Surface for Filling
Before filling a hole in a brick surface, it is essential to properly prepare the area to ensure the best results. Follow these steps to prepare the brick surface for filling:
- Clean the area: Begin by cleaning the hole and the surrounding brick surface. Use a wire brush or a stiff-bristled brush to remove any loose debris, dirt, or old mortar from the area.
- Moisten the brick: Spray the area with water to moisten the bricks. This will help the new mortar to adhere better to the surface.
- Create a solid base: If the hole is deep, consider using a backer rod or filler material to create a solid base for the new mortar to sit on.
- Apply the mortar: Mix the mortar according to the manufacturer’s instructions and apply it to the hole using a trowel. Make sure to fill the hole completely and smooth out the surface.
- Choosing the Right Filling Material for Brick Holes
When it comes to repairing holes in brick, choosing the right filling material is essential for a long-lasting and effective solution. There are several options available, each with its own advantages and disadvantages. Here are some factors to consider when deciding on the best filling material for brick holes:
- Type of Brick: Different types of bricks require different filling materials. For example, clay bricks may require a different filler than concrete bricks.
- Size of the Hole: The size of the hole will determine the type of filling material needed. Larger holes may require a different filler than smaller holes.
- Weather Exposure: If the brick is exposed to the elements, it is important to choose a filling material that is weather-resistant.
| Material | Advantages | Disadvantages |
|---|---|---|
| Hydraulic Cement | Dries quickly | May shrink over time |
| Epoxy Filler | Waterproof | Expensive |
| Sand and Cement Mix | Cost-effective | May crack in extreme temperatures |
Overall, the key to properly filling a hole in brick is to carefully assess the specific requirements of the job and select the appropriate filling material accordingly. By taking into account factors such as the type of brick, the size of the hole, and weather exposure, you can ensure a successful and long-lasting repair.
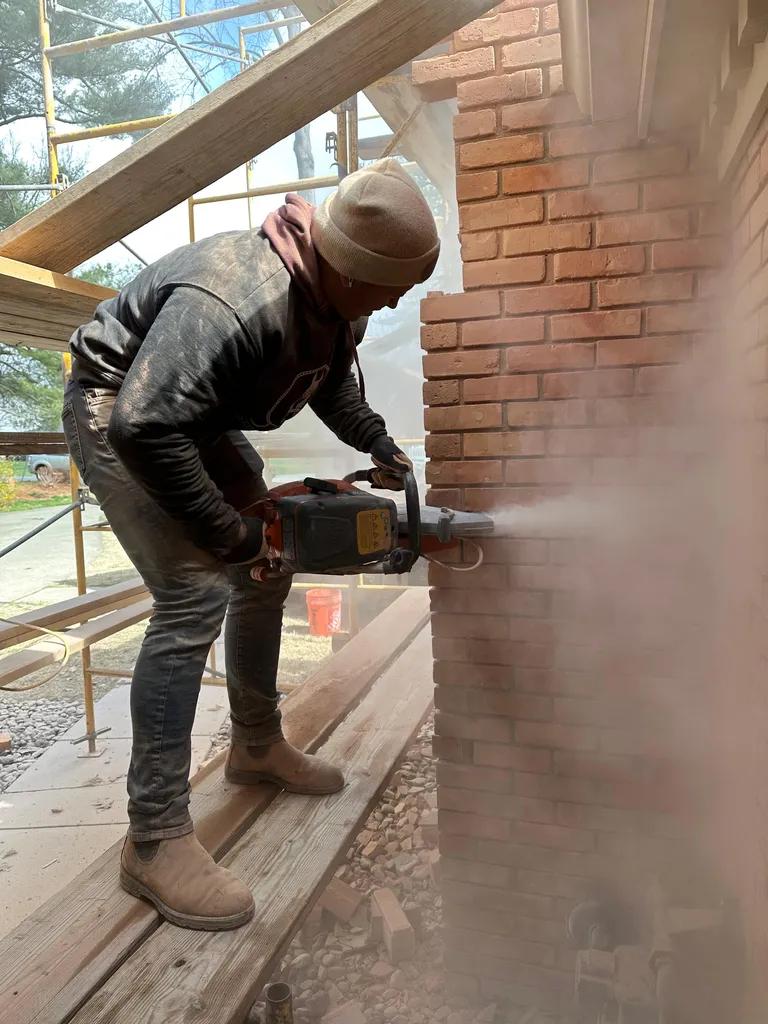
– Proper Techniques for Filling and Finishing Brick Holes
When it comes to filling holes in brick, it’s important to follow proper techniques to ensure a seamless finish. Here are some tips for filling and finishing brick holes:
- Clean the area: Before filling the hole, make sure to clean the area thoroughly to remove any debris or dust that could affect the adhesion of the filler.
- Choose the right filler: Select a filler that is specifically designed for brick repair to ensure a strong bond and long-lasting results.
- Fill the hole: Use a trowel to carefully fill the hole with the filler, making sure to slightly overfill to account for shrinkage.
- Smooth the surface: Once the hole is filled, use a damp cloth to smooth the surface and blend it in with the surrounding brick.
- Allow to dry: Let the filler dry completely before applying any finishing techniques or paint.
- Apply finishing touches: Once the filler is dry, you can sand it down if needed and apply a matching paint or finish to blend it seamlessly with the rest of the brick.
| Tip | Description |
|---|---|
| Use a pointing trowel | For more precision when filling small holes or cracks in brick. |
| Avoid overfilling | Make sure to fill the hole slightly above the surface to prevent sinking. |
Q&A
Q: What materials do I need to fill a hole in a brick?
A: You will need brick mortar, a trowel, a bucket of water, and a wire brush.
Q: How do I prepare the hole before filling it?
A: Use a wire brush to clean out any debris or loose material from the hole, ensuring a clean surface for the mortar to adhere to.
Q: How do I mix the mortar?
A: Follow the instructions on the mortar packaging, typically mixing it with water in a bucket until it reaches a smooth, paste-like consistency.
Q: How do I apply the mortar to the hole?
A: Use a trowel to scoop up some mortar and press it into the hole, making sure to pack it tightly and evenly.
Q: How do I finish the filled hole for a seamless look?
A: Use the edge of the trowel to smooth out the surface of the filled hole, blending it with the surrounding brick as much as possible.
Q: How long does the mortar take to dry?
A: Allow the mortar to dry for at least 24 hours before further handling or applying any paint or sealant.
Key Takeaways
In conclusion, filling a hole in a brick wall may seem like a daunting task, but with the right tools and techniques, it can be easily accomplished. By following the steps outlined in this article, you can ensure that the hole is properly filled and the integrity of the brick wall is maintained. Remember to take your time, use quality materials, and always prioritize safety when working with bricks. With careful attention to detail and a little bit of know-how, you can achieve a seamless finish and a strong, lasting repair. Thank you for reading, and happy repairing!