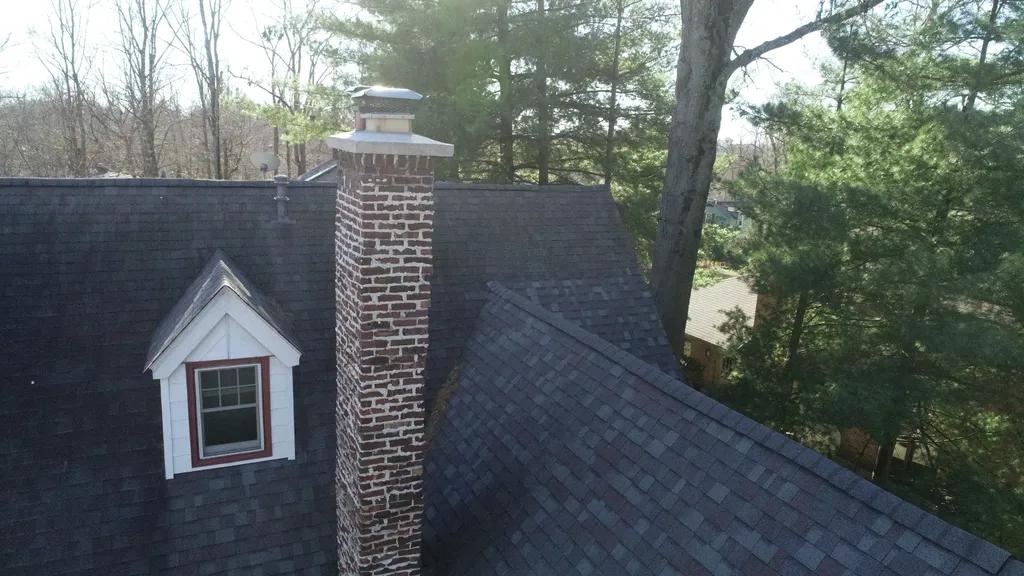
Masonry structures are renowned for their durability and longevity, but over time, even the most well-constructed walls may develop cracks or holes. These imperfections not only compromise the structural integrity of the building but also detract from its aesthetic appeal. In this professional guide, we will discuss the step-by-step process of patching masonry holes, ensuring a seamless and long-lasting repair that will uphold the integrity of the structure.
Table of Contents
- Introduction: Understanding the Different Types of Masonry Holes
- Assessment and Preparation: Identifying the Size and Depth of the Hole
- Material Selection: Choosing the Right Patching Compound for the Job
- Application Techniques: Step-by-Step Guide to Properly Patching Masonry Holes
- Q&A
- The Conclusion

Introduction: Understanding the Different Types of Masonry Holes
When it comes to patching masonry holes, it is essential to understand the different types of holes you may encounter in order to effectively fix them. Whether you are dealing with small cracks or large voids, each type of hole requires a specific approach for proper repair. By knowing the characteristics of each masonry hole, you can ensure that your patching job is successful and long-lasting.
There are several common types of masonry holes that you may come across, including:
- Surface cracks: Small cracks that are typically less than 1/8 inch wide and only affect the surface of the masonry.
- Deep cracks: Cracks that extend below the surface of the masonry and may be wider than 1/8 inch.
- Spalling: Areas where the surface of the masonry has chipped or flaked off, exposing the underlying material.

Assessment and Preparation: Identifying the Size and Depth of the Hole
When it comes to patching masonry holes, the first step is to assess and prepare the area by identifying the size and depth of the hole. This crucial step will help you determine the best approach for filling the hole and ensure a successful repair.
One effective way to assess the size and depth of the hole is to use a measuring tape or ruler. Measure the width, length, and depth of the hole to get an accurate understanding of the damage. Additionally, inspect the surrounding area for any additional cracks or damage that may need to be addressed. Once you have a clear picture of the extent of the damage, you can move on to preparing the area for patching.

Material Selection: Choosing the Right Patching Compound for the Job
When it comes to patching masonry holes, choosing the right patching compound is essential for a successful repair job. There are a variety of patching compounds available on the market, each designed for specific types of masonry surfaces and applications. To ensure a long-lasting and quality repair, it is important to select the right compound for the job.
**Here are some key factors to consider when selecting a patching compound for masonry holes:**
– **Type of surface:** Different patching compounds are designed for specific types of masonry surfaces, such as concrete, brick, or stone.
– **Size of hole:** Consider the size of the hole you are patching, as some compounds are better suited for larger or deeper holes.
– **Weather resistance:** If the repaired area will be exposed to the elements, choose a patching compound that is weather-resistant.
– **Drying time:** Depending on the project timeline, consider the drying time of the compound to ensure it fits within your schedule.
Application Techniques: Step-by-Step Guide to Properly Patching Masonry Holes
When it comes to patching masonry holes, following the proper application techniques is crucial for a successful and long-lasting repair. The first step in the process is to thoroughly clean the area around the hole. Use a wire brush or chisel to remove any loose debris, dirt, and old mortar.
Once the area is clean, prepare the mortar mix according to the manufacturer’s instructions. **Ensure the mix has the right consistency** – not too wet or dry. Use a trowel to carefully fill the hole with the mortar, ensuring it is properly packed and leveled. Allow the patch to dry completely before applying any finishing touches.
Q&A
Q: What tools and materials are needed to patch masonry holes?
A: To patch masonry holes, you will need a hammer, chisel, wire brush, mortar mix, water, trowel, and a bucket for mixing.
Q: What is the best way to prepare the surface before patching a masonry hole?
A: Before patching a masonry hole, you should clean the area thoroughly with a wire brush to remove any loose debris or old mortar.
Q: How should the mortar mix be prepared for patching masonry holes?
A: The mortar mix should be prepared according to the manufacturer’s instructions, typically by mixing the dry mortar with water in a bucket until it reaches a workable consistency.
Q: What is the proper technique for applying the mortar mix to the masonry hole?
A: The mortar mix should be pressed firmly into the hole using a trowel, making sure to fill the hole completely and smooth out the surface for a finished look.
Q: How long does the patched masonry hole need to dry before it can be painted or sealed?
A: The patched masonry hole should be allowed to dry for at least 24 hours before it can be painted or sealed to ensure proper adhesion and durability.
The Conclusion
In conclusion, patching masonry holes is a task that requires skill and precision. By following the steps outlined in this guide, you can ensure that your repairs are durable and long-lasting. Remember to always wear the appropriate safety gear, use high-quality materials, and take your time to properly prepare the surface before applying the patch. With proper care and maintenance, your masonry walls will continue to stand strong for years to come. Thank you for reading our professional guide on how to patch masonry holes.


