

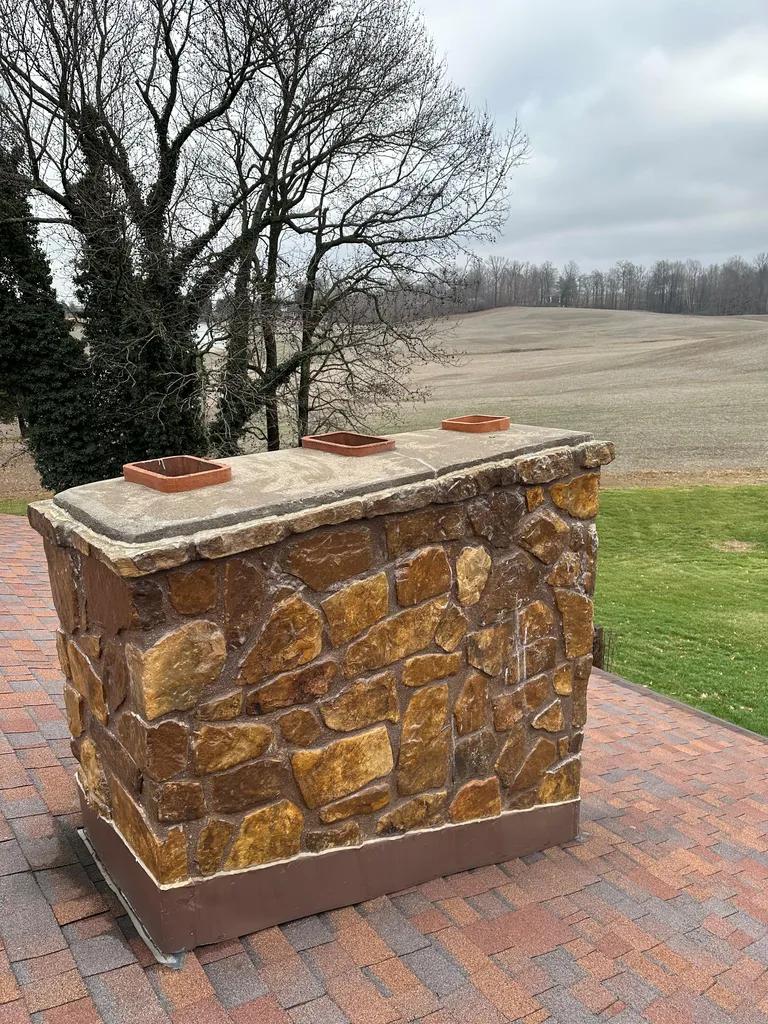
When it comes to maintaining a safe and efficient chimney system, replacing a damaged or worn-out flue pipe is a task that should not be overlooked. In this expert guide, we will provide you with step-by-step instructions on how to replace your flue pipe with ease, ensuring that your chimney operates at its best while minimizing the risk of fire hazards. Whether you’re a seasoned DIY enthusiast or a homeowner looking to tackle a new home improvement project, this article will equip you with the knowledge and skills needed to successfully complete this important maintenance task.
Table of Contents
- Selecting the Right Flue Pipe Material for Optimal Performance
- Step-by-Step Guide to Removing the Old Flue Pipe Safely
- Expert Tips for Properly Installing and Sealing the New Flue Pipe
- Ensuring Long-Term Durability and Functionality with Regular Maintenance
- Q&A
- To Conclude

Selecting the Right Flue Pipe Material for Optimal Performance
When it comes to , there are a few key factors to consider. One of the most important considerations is the type of fuel being used, whether it’s wood, gas, oil, or pellets. Different fuels produce varying levels of heat and byproducts, so it’s crucial to choose a material that can withstand the specific demands of your heating system.
Another factor to keep in mind is the temperature at which the flue pipe will operate. Some materials are better suited for high temperatures, while others may degrade quickly if exposed to intense heat. Additionally, consider the overall durability and longevity of the material, as well as its compatibility with your existing flue system. By selecting the right flue pipe material, you can ensure optimal performance and safety for your heating system.
Step-by-Step Guide to Removing the Old Flue Pipe Safely
Removing the old flue pipe from your fireplace may seem like a daunting task, but with the right guidance, it can be done safely and efficiently. Here is a step-by-step guide to help you replace your flue pipe with ease:
- Turn off the fireplace: Before you begin, make sure to turn off the fireplace and let it cool down completely.
- Remove the access panel: Locate the access panel on your fireplace and carefully remove it to gain access to the flue pipe.
- Disconnect the flue pipe: Using a screwdriver, loosen the screws that connect the flue pipe to the fireplace. Once loose, carefully disconnect the flue pipe from the fireplace.
- Inspect the old flue pipe: Take a close look at the old flue pipe to check for any signs of damage or wear. If necessary, replace the flue pipe with a new one.
| Tip | Make sure to wear gloves and protective eyewear when handling the old flue pipe. |
|---|
Expert Tips for Properly Installing and Sealing the New Flue Pipe
One essential step in properly installing and sealing a new flue pipe is to ensure that it is the correct size and material for your specific fireplace or stove. Before getting started, take accurate measurements of the old flue pipe to ensure the new one will fit correctly. Additionally, consider factors such as the type of fuel being used and the temperature requirements for the flue pipe material.
Once you have selected the right flue pipe, carefully follow these expert tips for a successful installation and sealing process:
- **Clean the chimney**: Remove any debris or buildup from the chimney to prevent obstruction and ensure proper airflow.
– **Use high-quality sealant**: Invest in a high-quality sealant for connecting the flue pipe sections and sealing any gaps or joints.
- **Secure all connections**: Double-check that all connections are securely fastened to prevent leaks and ensure efficiency.
– **Consider insulation**: Adding insulation around the flue pipe can improve safety and efficiency by preventing heat transfer to combustible materials.
– **Regular maintenance**: Schedule regular inspections and maintenance to keep the flue pipe in optimal condition.
Ensuring Long-Term Durability and Functionality with Regular Maintenance
Regular maintenance is key to ensuring the long-term durability and functionality of your flue pipe. By keeping up with routine inspections and repairs, you can prevent costly damage and extend the lifespan of your chimney system. Here are some expert tips on how to replace your flue pipe with ease:
- Inspect Your Flue Pipe: Before starting the replacement process, thoroughly inspect your flue pipe for any signs of damage or corrosion.
- Choose the Right Materials: Select high-quality materials that are compatible with your chimney system to ensure a proper fit and maximum durability.
- Measure Twice, Cut Once: Take accurate measurements of your flue pipe to avoid any mistakes during installation.
Replacing your flue pipe may seem like a daunting task, but with the right tools and knowledge, you can tackle it like a pro. Remember to follow safety precautions and consult with a professional if you’re unsure about any step in the process. By taking the time to properly maintain your chimney system, you can enjoy a safe and efficient fireplace for years to come.
Q&A
Q: What is a flue pipe and why would I need to replace it?
A: A flue pipe is a crucial component of your heating system that helps exhaust harmful gases from your home. Over time, wear and tear can cause the pipe to deteriorate, leading to potential safety concerns and reduced efficiency.
Q: How can I tell if my flue pipe needs to be replaced?
A: Signs that indicate you may need to replace your flue pipe include rust, corrosion, visible leaks, or strange smells coming from your heating system.
Q: What are the steps involved in replacing a flue pipe?
A: To replace a flue pipe, you will first need to turn off your heating system and remove the damaged pipe. Then, measure and cut a new pipe to fit, secure it in place, and test for proper ventilation.
Q: Can I replace my flue pipe myself, or should I hire a professional?
A: While it is possible to replace a flue pipe yourself, it is recommended to hire a professional to ensure the job is done correctly and safely. Improper installation can lead to serious hazards like carbon monoxide leaks.
Q: Are there any tips for maintaining my flue pipe to prevent future issues?
A: Regularly inspecting your flue pipe for signs of wear and tear, cleaning it as needed, and scheduling annual maintenance with a professional can help prevent the need for frequent replacements.
To Conclude
In conclusion, replacing your flue pipe may seem like a daunting task, but with the right tools and knowledge, it can be done with ease. By following the steps outlined in this expert guide, you can ensure that your heating system operates safely and efficiently. Remember to seek professional help if you encounter any difficulties or are unsure of how to proceed. With proper maintenance and care, your flue pipe replacement will ensure the longevity and performance of your heating system for years to come. Thank you for reading, and best of luck with your project.