

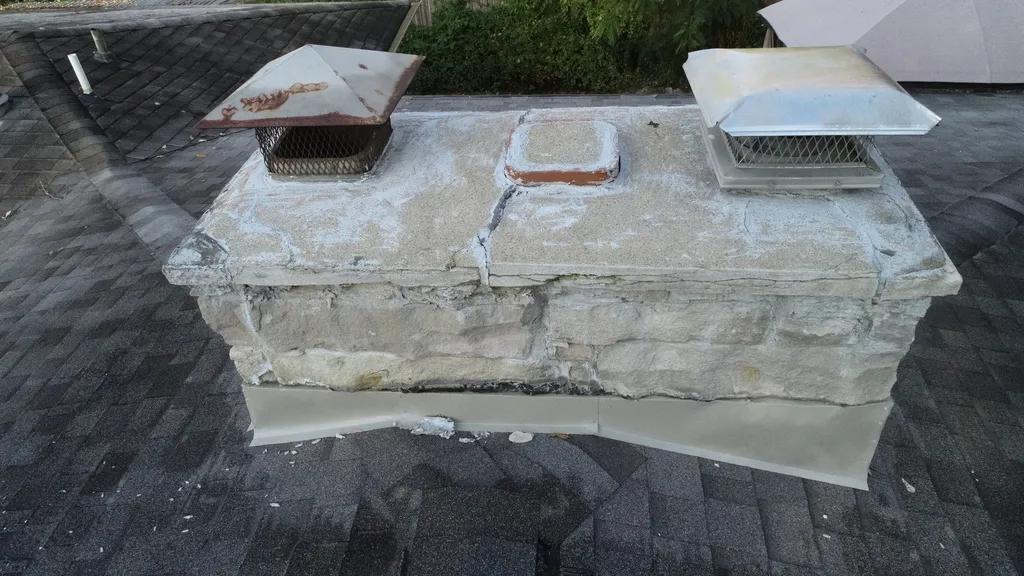
A chimney is an essential part of any home, providing ventilation for smoke to safely exit the house while also maintaining proper airflow. However, over time, chimney holes may develop, posing a risk of water leaks, drafts, and even animal intrusion. In this article, we will discuss the essential steps for patching a chimney hole to ensure the safety and efficiency of your chimney system. By following these professional guidelines, you can effectively seal any gaps and prevent further damage to your home.
Table of Contents
- Preparing the Chimney Hole for Patching
- Selecting the Right Materials for Chimney Patching
- Techniques for Applying the Patching Material
- Ensuring a Proper Seal for Long-lasting Results
- Q&A
- The Conclusion

Preparing the Chimney Hole for Patching
Before patching a chimney hole, it is crucial to properly prepare the area to ensure a successful repair. Follow these essential steps to prepare the chimney hole for patching:
- Clean the area: Remove any debris, loose mortar, or other debris around the chimney hole to create a clean surface for the patching material.
- Inspect for damage: Check for any cracks, gaps, or other damage in the chimney hole that may need to be addressed before patching.
- Apply a bonding agent: Use a bonding agent to help the patching material adhere to the chimney surface more effectively.
By taking the time to properly prepare the chimney hole for patching, you can ensure that the repair will be durable and long-lasting. Follow these steps to create a strong foundation for patching your chimney and restore its functionality and appearance.
Selecting the Right Materials for Chimney Patching
When selecting materials for patching a chimney hole, it is crucial to choose high-quality products that are specifically designed for chimney repair. In order to ensure a successful patch job, consider the following essential steps:
- Assess the extent of damage: Before selecting materials, thoroughly inspect the chimney to determine the size and severity of the hole that needs to be patched. This will help you gauge the amount of material required for the repair.
- Choose the right patching material: Depending on the type of chimney and the extent of damage, select a suitable patching material such as chimney crown repair sealant, chimney mortar mix, or chimney flashing sealant. Ensure that the material is heat-resistant and designed for chimney applications.
For a successful chimney patch job, it is important to follow these steps carefully and use high-quality materials that are designed for chimney repair. By selecting the right materials and following proper patching procedures, you can ensure that your chimney stays in good condition and functions efficiently.
Techniques for Applying the Patching Material
When patching a chimney hole, it is crucial to follow the correct techniques to ensure a successful repair. First and foremost, clean the area around the hole to remove any debris or loose material. This will help the patching material adhere properly to the surface.
Next, apply a layer of patching material to fill the hole, ensuring that it is spread evenly and covers the entire area. Use a trowel or putty knife to smooth out the patching material and create a seamless finish. Allow the patch to dry completely before adding any additional coats or finishing touches.
Ensuring a Proper Seal for Long-lasting Results
One of the most common issues homeowners face is a leaky chimney. To ensure a proper seal and long-lasting results, it is essential to follow a few key steps when patching a chimney hole. First and foremost, gather all the necessary materials including chimney caulk, chimney flashing, and a ladder.
Once you have all the materials ready, start by thoroughly cleaning the area around the chimney hole. Use a wire brush to remove any debris and dirt, ensuring a smooth surface for the patch. Next, apply chimney caulk around the edges of the hole, making sure to create a tight seal. Then, cut a piece of chimney flashing to fit over the hole and secure it in place with roofing nails. Finally, apply another layer of chimney caulk over the flashing to provide an extra layer of protection. By following these essential steps, you can effectively patch a chimney hole and prevent future leaks.
Q&A
Q: Why is it important to patch a chimney hole?
A: A chimney hole left unrepaired can lead to water damage, nesting animals, and drafts in your home.
Q: How can I identify a chimney hole that needs patching?
A: Look for loose bricks, missing mortar, or gaps around the chimney base where it meets the roof.
Q: What materials are needed to patch a chimney hole?
A: You will need mortar mix, a trowel, gloves, safety glasses, and possibly a chimney crown sealer.
Q: What is the process for patching a chimney hole?
A: First, clean the area around the hole. Then mix the mortar according to the package instructions and apply it to the hole using the trowel. Smooth out the mortar and let it dry before applying a chimney crown sealer if needed.
Q: How often should a chimney hole be inspected and patched?
A: It is recommended to inspect your chimney at least once a year and patch any holes or damage as soon as they are identified to prevent further issues.
The Conclusion
In conclusion, properly patching a chimney hole is essential for maintaining the integrity and safety of your chimney and home. By following the steps outlined in this article, you can ensure that your chimney is in good working order and free from any damage or potential hazards. Remember to always prioritize safety and consult with a professional if you are unsure about any step in the process. With proper maintenance and care, your chimney will continue to provide warmth and comfort for many years to come. Thank you for reading and good luck with your chimney patching project.