

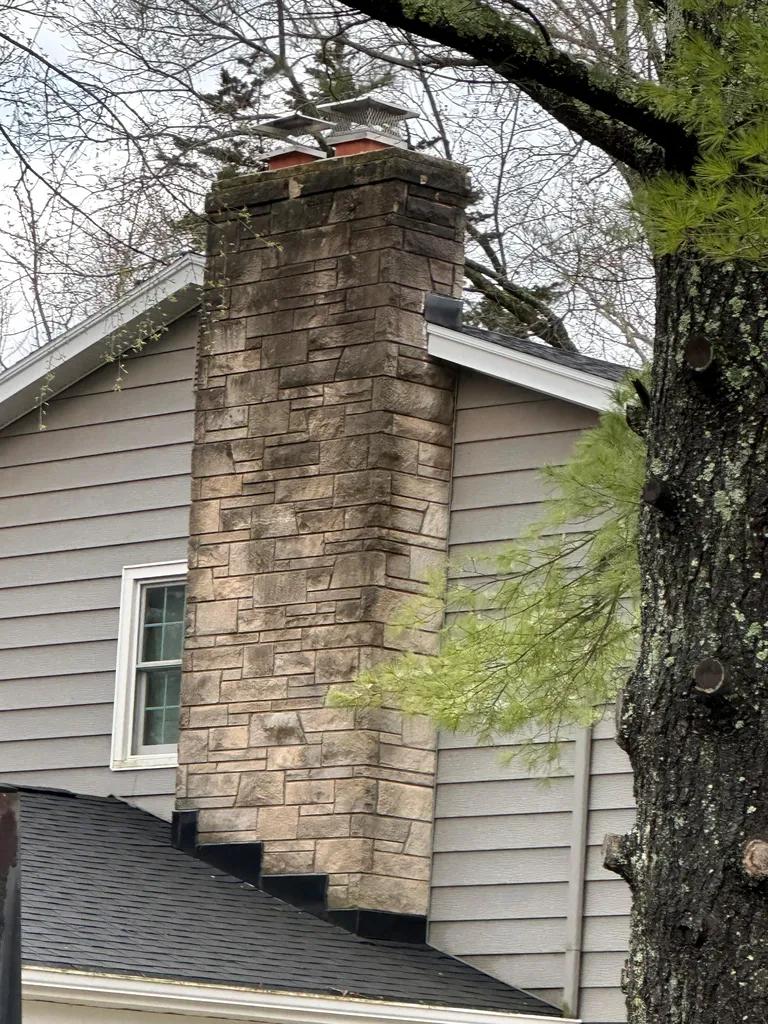
As one of the most commonly used natural stones in construction, limestone requires proper maintenance to ensure its longevity and aesthetic appeal. Repointing is a crucial aspect of preserving the structural integrity of limestone buildings, yet it is often overlooked or performed incorrectly. In this comprehensive guide, we will provide you with all the essential information you need to effectively repoint limestone structures, from understanding the materials and tools needed, to mastering the techniques and best practices for achieving durable and visually pleasing results. Whether you are a homeowner looking to maintain your historic limestone home or a professional mason seeking to enhance your skills, this article will serve as your go-to resource for successful limestone repointing.
Table of Contents
- Understanding the Importance of Repointing Limestone
- Key Factors to Consider Before Repointing Limestone
- Step-by-Step Guide to Repointing Limestone
- Best Practices for Maintaining Repointed Limestone Walls
- Q&A
- In Retrospect

Understanding the Importance of Repointing Limestone
When it comes to maintaining the structural integrity and aesthetic appeal of your limestone surfaces, repointing is a crucial process that should not be overlooked. Repointing involves the removal and replacement of deteriorated or damaged mortar joints in between limestone blocks or bricks. This not only helps to strengthen the overall structure but also enhances the appearance of the limestone, ensuring that it remains in top condition for years to come.
One of the main reasons why repointing limestone is so important is to prevent water penetration and moisture damage. Over time, the mortar joints between limestone blocks can deteriorate due to exposure to the elements, causing them to crack or crumble. This can lead to water seeping into the gaps, which can cause further damage to the limestone as well as to the structure supporting it. By repointing the mortar joints, you can seal off any potential entry points for water, protecting your limestone surfaces from moisture-related issues.
Key Factors to Consider Before Repointing Limestone
When it comes to repointing limestone, there are several essential factors that you need to consider to ensure a successful and long-lasting result. Here are some key considerations:
- Limestone Type: Identify the type of limestone you have as different types require specific mortar mixes and techniques for repointing.
- Condition Assessment: Thoroughly inspect the condition of the existing mortar and limestone to determine the extent of repair needed.
- Weather: Consider the weather conditions before starting the repointing process as extreme temperatures or moisture can affect the outcome.
- Mortar Mix: Select the right mortar mix that matches the original composition to ensure compatibility and prevent damage to the limestone.
| Factor | Consideration |
| Limestone Type | Identify the type for specific mortar mix. |
| Condition Assessment | Thoroughly inspect existing mortar and limestone. |
| Weather | Consider weather conditions before starting. |
| Mortar Mix | Select matching mix for original composition. |
Step-by-Step Guide to Repointing Limestone
Before starting the repointing process, it is important to gather all the necessary tools and materials. You will need a pointing trowel, pointing iron, hammer, wire brush, safety goggles, gloves, respirator mask, mortar mix, water, and a bucket.
Once you have gathered all the materials, follow these steps to repoint your limestone:
- Prepare the Area: Remove any loose or deteriorated mortar with a pointing iron and wire brush. Clean the joints thoroughly to ensure a strong bond.
- Mix the Mortar: Follow the instructions on the mortar mix bag to create the perfect consistency. It should be sticky but not too wet.
- Apply the Mortar: Use a pointing trowel to press the mortar into the joints, ensuring it is fully packed and smoothed out.
- Finish: Once the mortar is in place, use the pointing trowel to shape and smooth the joints for a clean finish.
Best Practices for Maintaining Repointed Limestone Walls
Inspect Regularly: To ensure your repointed limestone walls are in top condition, it is essential to inspect them regularly. Look for any cracks, gaps, or signs of deterioration in the mortar joints, as well as any loose or damaged stones. Catching issues early can help prevent more extensive damage down the line.
Clean with Care: When cleaning repointed limestone walls, it is important to use gentle methods to avoid damaging the delicate stone. Avoid harsh chemicals or pressure washing, as these can erode the mortar and potentially cause the stones to become loose. Instead, use a soft brush or sponge with mild soap and water to gently remove any dirt or grime.
Q&A
Q: What is repointing and why is it important for limestone structures?
A: Repointing is the process of removing deteriorated or damaged mortar from between the joints of limestone masonry and replacing it with new mortar. It is important for limestone structures because it helps maintain the structural integrity of the building and prevents water infiltration, which can lead to further damage.
Q: How often should repointing be done on limestone structures?
A: The frequency of repointing on limestone structures can vary depending on factors such as climate, exposure to elements, and the quality of the original construction. In general, it is recommended to inspect and repoint limestone structures every 25-50 years.
Q: What tools and materials are needed for repointing limestone?
A: Some of the essential tools and materials needed for repointing limestone include a hammer and chisel for removing old mortar, a pointing trowel for applying new mortar, a mortar mix, a spray bottle for dampening the joints, and safety equipment such as gloves and goggles.
Q: What are the steps involved in repointing limestone?
A: The steps involved in repointing limestone include assessing the condition of the joints, removing the old mortar, cleaning the joints, preparing the new mortar mix, applying the new mortar, and finishing the joints with a pointing trowel. It is important to follow proper techniques to ensure the longevity and effectiveness of the repointing job.
Q: Are there any tips for maintaining repointed limestone structures?
A: To maintain repointed limestone structures, it is important to regularly inspect the joints for any signs of deterioration and address them promptly. Cleaning the limestone with a gentle brush or low-pressure wash can also help prevent the build-up of dirt and debris, which can deteriorate the mortar over time. Additionally, applying a breathable sealer can help protect the limestone and prolong the life of the repointing job.
In Retrospect
In conclusion, repointing limestone is a crucial maintenance task to ensure the longevity and structural integrity of your building. By following the essential guide provided in this article, you can successfully repoint your limestone surfaces with confidence. Remember to gather the necessary tools, select the appropriate mortar mix, and carefully execute the repointing process to achieve optimal results. Taking the time to properly maintain your limestone will not only enhance its aesthetic appeal but also preserve its durability for years to come. Thank you for reading, and we hope that this guide has been informative and helpful in your repointing endeavors.