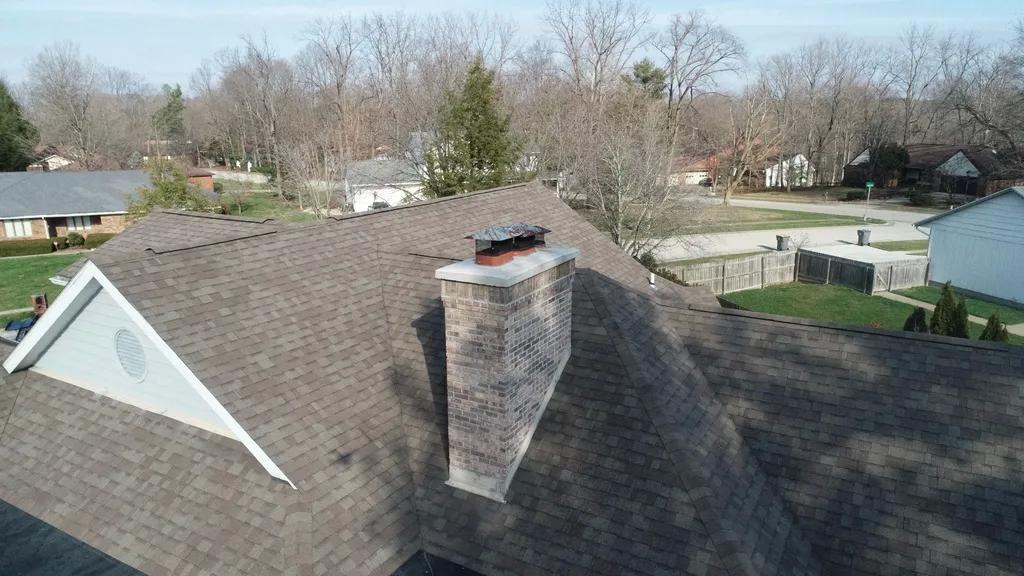
Chimneys play a crucial role in maintaining the safety and efficiency of a home’s heating system. However, over time, the top of a chimney can become damaged or deteriorate, leading to potential hazards. In this article, we will provide an essential guide to repairing the top of your chimney, discussing common issues, steps for DIY repairs, and when to seek professional help. Keep reading to ensure your chimney is in top condition to keep your home safe and warm.
Table of Contents
- Identifying Common Chimney Top Issues
- Tools and Materials Needed for Chimney Top Repair
- Step-by-Step Guide to Repairing Chimney Crown
- Tips for Maintaining a Healthy Chimney Top
- Q&A
- Closing Remarks

Identifying Common Chimney Top Issues
When it comes to maintaining your chimney, it’s crucial to address any issues with the top of the structure promptly. Common chimney top issues can lead to further damage if left unattended, so it’s essential to be proactive in addressing them. One of the most frequent issues with chimney tops is cracked or deteriorating mortar. This can allow water to seep in, causing damage to the interior of the chimney and potentially leading to structural issues. Additionally, chimney caps can become damaged or dislodged, leaving the chimney vulnerable to water, debris, and even wildlife entering the flue.
To address these common chimney top issues, it’s important to regularly inspect the top of your chimney for any signs of damage. If you notice cracked mortar or a damaged chimney cap, it’s best to contact a professional chimney repair service to assess the situation and make any necessary repairs. Repairing or replacing damaged mortar and chimney caps can help protect your chimney from further damage and ensure it continues to function properly for years to come.

Tools and Materials Needed for Chimney Top Repair
When it comes to repairing the top of your chimney, having the right tools and materials is essential for a successful project. Here is a list of items you will need to get the job done effectively:
- Masonry caulk or sealant: To fill in any cracks or gaps in the chimney structure.
- Chimney crown repair mix: A special mortar mix designed specifically for chimney repairs.
- Wire brush: For cleaning the chimney surface before applying any sealant or repair mix.
- Chimney cap: To protect the top of the chimney from water and debris.
Additionally, you may need a flashing kit if the flashing around your chimney needs to be repaired or replaced. It’s important to assess the extent of the damage before starting the repair process to ensure you have all the necessary tools and materials on hand.

Step-by-Step Guide to Repairing Chimney Crown
To begin repairing the top of your chimney, start by inspecting the chimney crown for any cracks or damage. Use a flashlight to get a clear view of the crown and identify any areas that need repair. Next, gather the necessary materials including chimney crown sealant, a trowel, and a wire brush.
Once you have identified the areas that need repair, use the wire brush to clean the surface of the chimney crown. Remove any debris or loose mortar to ensure a clean and smooth surface for the sealant to adhere to. Apply a generous amount of chimney crown sealant to the damaged areas, using the trowel to spread it evenly. Allow the sealant to dry according to the manufacturer’s instructions before using your fireplace again. Remember, regular maintenance of your chimney crown can help prevent costly repairs in the future.
Tips for Maintaining a Healthy Chimney Top
When it comes to maintaining a healthy chimney top, there are several key tips that every homeowner should keep in mind. One essential aspect of chimney care is regularly inspecting the top of the chimney for any signs of damage or wear. This includes checking for cracks, loose bricks, or deteriorating mortar that could compromise the structural integrity of the chimney.
<p>Another important tip is to keep the chimney clean and free of debris, such as leaves, sticks, or bird nests. These obstructions can not only prevent proper airflow but also pose a fire hazard. Regularly cleaning the chimney and removing any blockages will help ensure that your chimney functions efficiently and safely.</p>Q&A
Q: Why is it important to repair the top of your chimney?
A: Repairing the top of your chimney is crucial to prevent water damage, structural issues, and chimney fires.
Q: What are some common issues that can occur at the top of a chimney?
A: Some common issues at the top of a chimney include cracked or crumbling mortar, damaged or missing chimney caps, and deteriorating flashing.
Q: How can I tell if my chimney needs repairs?
A: Signs that your chimney may need repairs include water leaks, rust stains on the chimney, and a smoky or musty smell coming from your fireplace.
Q: Can I repair the top of my chimney myself?
A: While some minor repairs can be done by homeowners, it is recommended to hire a professional chimney repair service for more extensive damage to ensure the safety and effectiveness of the repairs.
Q: How often should I have my chimney inspected and repaired?
A: It is recommended to have your chimney inspected and cleaned annually, with repairs made as needed to prevent further damage and ensure the longevity of your chimney.
Closing Remarks
In conclusion, properly maintaining the top of your chimney is essential for the safety and functionality of your home. By following the steps outlined in this guide, you can ensure that your chimney is in top condition and avoid potential hazards such as leaks and structural damage. Remember to inspect and clean your chimney regularly, and if you encounter any issues that require repair, do not hesitate to seek professional help. With proper care and attention, you can enjoy a well-maintained chimney that will keep your home cozy and safe for years to come. Thank you for reading our essential guide to repairing the top of your chimney.


