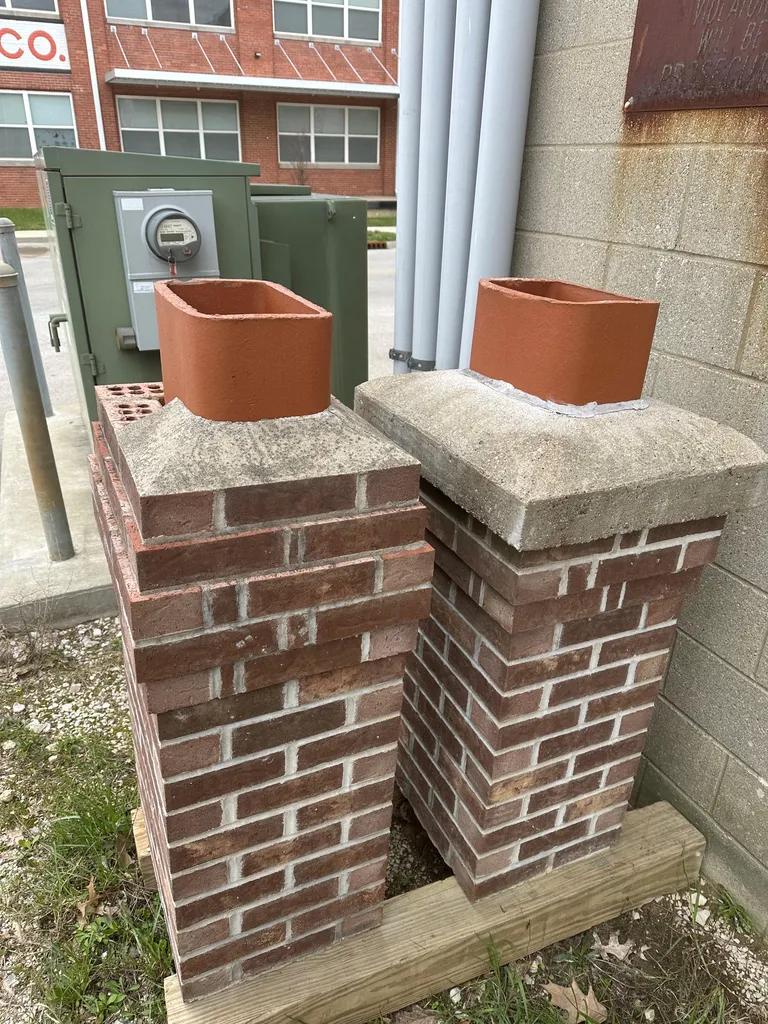
Chimneys play a crucial role in the safety and functionality of your home’s fireplace or heating system. Over time, wear and tear can cause the mortar joints of your chimney to deteriorate, leading to potential structural issues and safety hazards. In order to ensure the longevity and efficiency of your chimney, re-mortaring is a vital maintenance task that shouldn’t be overlooked. In this essential guide, we will walk you through the process of renovating your chimney with re-mortaring, covering everything from identifying the need for repairs to selecting the right materials and techniques for a successful renovation project. Stay tuned and learn how to protect and enhance your chimney’s integrity for years to come.
Table of Contents
- Key Considerations Before Renovating Your Chimney
- Choosing the Right Mortar Mix for Your Chimney
- Step-by-Step Guide to Re-Mortaring Your Chimney
- Common Mistakes to Avoid During Chimney Renovation
- Q&A
- Future Outlook

Key Considerations Before Renovating Your Chimney
Before embarking on the journey of renovating your chimney with re-mortaring, there are several key considerations to keep in mind. These considerations will help ensure that the process goes smoothly and the end result is a chimney that not only looks great but functions properly as well.
First and foremost, it’s important to assess the current condition of your chimney. Look for signs of damage such as cracks, crumbling mortar, or loose bricks. This will help you determine the extent of the renovations needed and whether re-mortaring is the best course of action. Additionally, consider the age of your chimney and whether it has been renovated in the past.

Choosing the Right Mortar Mix for Your Chimney
When it comes to renovating your chimney with re-mortaring, choosing the right mortar mix is crucial for the longevity and stability of your chimney structure. There are various types of mortar mixes available, each with its own set of characteristics and applications. Here are some key factors to consider when selecting the appropriate mortar mix for your chimney:
Mortar Type: Different mortar types are suitable for different applications and conditions. It’s essential to choose a mortar mix that is compatible with the materials used in your chimney construction. Common mortar types include Type N, Type S, and Type O.

Step-by-Step Guide to Re-Mortaring Your Chimney
Before you begin re-mortaring your chimney, it’s essential to gather all the necessary tools and materials. Make sure you have a sturdy ladder, safety goggles, gloves, a pointing trowel, a wire brush, mortar mix, a bucket for water, and a stiff brush for cleaning the surface. Safety should always be your top priority when working on any home improvement project.
Start by inspecting the chimney for any loose or damaged bricks and mortar. Use the wire brush to remove any debris or loose mortar from the joints. Mix the mortar according to the manufacturer’s instructions, making sure it has the right consistency. Apply the mortar using the pointing trowel, filling in the joints evenly. Allow the mortar to set for a few minutes before using the stiff brush to finish the joints. Repeat this process until the entire chimney has been re-mortared, giving it a fresh and clean look.

Common Mistakes to Avoid During Chimney Renovation
When renovating your chimney with re-mortaring, it is important to avoid common mistakes that could compromise the structural integrity and safety of your chimney. One common mistake to avoid is using the wrong type of mortar. It is essential to use a mortar that is specifically designed for chimney renovation, such as Type N or Type O mortar. Using the wrong mortar can lead to cracking, water damage, and other issues.
Another mistake to avoid is neglecting to properly prepare the surface before re-mortaring. It is crucial to thoroughly clean and remove any old mortar, debris, and other contaminants from the chimney surface before applying new mortar. Failing to do so can prevent the new mortar from properly adhering to the surface, leading to weak spots and potential failure. By taking the time to avoid these common mistakes, you can ensure that your chimney renovation is successful and long-lasting.
Q&A
Q: What is re-mortaring and why is it important for chimney renovation?
A: Re-mortaring is the process of replacing the deteriorated mortar joints between the bricks or stones of a chimney. It is essential for maintaining the structural integrity and preventing water damage.
Q: How often should re-mortaring be done on a chimney?
A: It is recommended to inspect and potentially re-mortar a chimney every 20-30 years, depending on the climate and the condition of the mortar.
Q: What are the signs that a chimney needs re-mortaring?
A: Some signs that a chimney may need re-mortaring include crumbling or missing mortar joints, water leaks into the fireplace, and cracks in the chimney structure.
Q: Can re-mortaring be done as a DIY project?
A: Re-mortaring a chimney is a complex and labor-intensive task best left to professionals. It requires specific skills, tools, and materials to ensure the job is done correctly.
Q: How long does it take to re-mortar a chimney?
A: The time it takes to re-mortar a chimney can vary depending on the size and condition of the chimney, but it typically takes several days to complete the project.
Q: What are the benefits of re-mortaring a chimney?
A: Re-mortaring a chimney can improve its structural stability, prevent water damage, and enhance the overall appearance of the chimney. It can also extend the lifespan of the chimney.
Future Outlook
In conclusion, re-mortaring your chimney is an essential maintenance task that can help prolong the life of your chimney and ensure it continues to function properly. By following the steps outlined in this essential guide, you can renovate your chimney with confidence and peace of mind. Remember to consult a professional if you have any doubts or concerns, and always prioritize safety throughout the renovation process. With proper care and attention, your chimney can remain a reliable and efficient part of your home for years to come. Thank you for reading.


