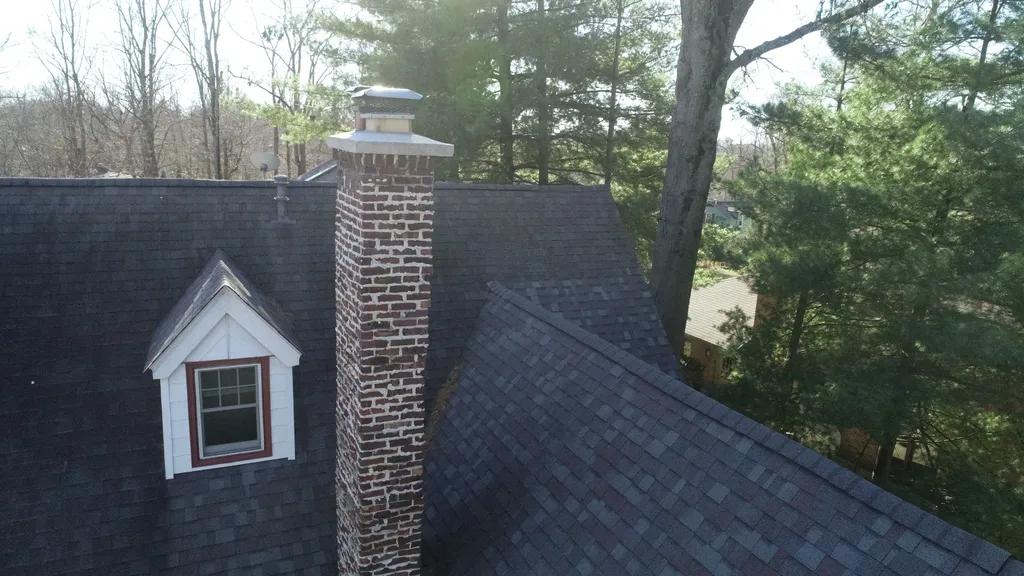
Brick structures are not immune to wear and tear, and over time, cracks and damage may appear. In order to maintain the structural integrity of the building and preserve its aesthetic appeal, it is important to address any issues with brick patch repair in a timely and effective manner. This essential guide will provide you with the necessary information and steps to successfully repair brickwork, ensuring a long-lasting and durable solution.
Table of Contents
- Key Considerations for Brick Patch Repair
- Materials and Tools Needed for Successful Brick Patch Repair
- Step-by-Step Guide to Repairing Damaged Bricks
- Tips for Ensuring a Long-Lasting Brick Patch Repair
- Q&A
- To Wrap It Up

Key Considerations for Brick Patch Repair
When it comes to repairing brick patches on your property, there are several key considerations to keep in mind to ensure a successful repair job. One important factor to consider is the type of mortar that will be used for the repair. It’s crucial to match the existing mortar as closely as possible to maintain the overall look and integrity of the structure.
Another essential consideration is the preparation of the area before starting the repair. Make sure to clean the damaged area thoroughly, removing any loose bricks or debris. Properly assessing the extent of the damage and determining the best technique for the repair is also crucial. Whether it’s a simple patch job or a more complex repair, taking the time to carefully plan and execute the repair will help ensure long-lasting results.

Materials and Tools Needed for Successful Brick Patch Repair
When it comes to successfully repairing brick patches, having the right materials and tools is essential. To ensure your repair job is done efficiently and effectively, here is a list of the key items you will need:
- Bricks: Make sure you have enough matching bricks to replace the damaged ones.
- Mortar: High-quality mortar mix that matches the existing color of the bricks.
- Trowel: A pointed trowel for applying mortar and smoothing out the patches.
- Brush: A stiff-bristled brush for cleaning the area before applying mortar.
- Hammer and chisel: For removing damaged bricks and cleaning up the edges.
Additionally, having safety equipment such as gloves, goggles, and a dust mask is important when working with bricks and mortar. By ensuring you have all these materials and tools on hand, you can ensure your brick patch repair job is a success.
Step-by-Step Guide to Repairing Damaged Bricks
When it comes to repairing damaged bricks, the process can seem daunting at first. However, with the right tools and techniques, you can successfully patch up any cracks or chips in your brickwork. Follow this step-by-step guide for an essential guide to brick patch repair.
First, assess the extent of the damage. Look for any cracks, chips, or holes in the bricks that need repair. Then, gather your materials, including brick repair mortar, a trowel, a chisel, a wire brush, and safety goggles. Once you have everything you need, follow these steps:
- Clean the damaged area: Use the wire brush to remove any loose debris or mortar from the damaged bricks.
- Prepare the mortar: Mix the brick repair mortar according to the manufacturer’s instructions.
- Apply the mortar: Use the trowel to carefully apply the mortar to fill in the cracks or holes in the bricks.
- Smooth and shape: Use the trowel to smooth out the mortar and shape it to match the surrounding bricks.
- Let it dry: Allow the mortar to dry completely before touching or painting over it.

Tips for Ensuring a Long-Lasting Brick Patch Repair
When it comes to ensuring a long-lasting brick patch repair, there are several key tips to keep in mind. First and foremost, it’s essential to properly prepare the area before beginning any repair work. This includes cleaning the brick surface thoroughly to remove any dirt, debris, or loose mortar that could interfere with the patching process. Additionally, be sure to inspect the surrounding bricks for any signs of damage or wear that may need to be addressed.
Another important tip is to use high-quality materials when making your brick patch repair. Opt for a durable mortar mix that is specifically designed for brickwork, and be sure to follow the manufacturer’s instructions for mixing and applying the mortar. Additionally, consider using a brick sealer after completing the repair to help protect the patch from water damage and other potential hazards. By taking the time to properly prepare the area and use quality materials, you can help ensure that your brick patch repair will stand the test of time.
Q&A
Q: What is brick patch repair?
A: Brick patch repair refers to the process of fixing damaged or deteriorating bricks on a structure by removing the damaged portion and replacing it with new bricks.
Q: What are the common reasons for brick damage?
A: Common reasons for brick damage include water infiltration, freeze-thaw cycles, settling of the building foundation, and impact from external forces.
Q: How do you evaluate the extent of brick damage?
A: The extent of brick damage can be evaluated by visually inspecting the area for cracks, chips, spalling, and discoloration. It is also important to check for any underlying issues that may be causing the damage.
Q: What tools and materials are needed for brick patch repair?
A: Tools and materials needed for brick patch repair include a hammer and chisel, mortar mix, a trowel, a wire brush, a bucket of water, and replacement bricks that match the existing ones in size, color, and texture.
Q: What is the step-by-step process for brick patch repair?
A: The step-by-step process for brick patch repair involves assessing the damage, removing the damaged bricks, cleaning the area, preparing the mortar mix, applying the mortar, and carefully placing the replacement bricks. Finally, the mortar is tooled to match the surrounding mortar joints.
Q: How long does brick patch repair typically last?
A: The lifespan of brick patch repair depends on the quality of the materials used, the skill of the person performing the repair, and the underlying causes of the damage. With proper maintenance, brick patch repair can last for many years.
To Wrap It Up
In conclusion, proper maintenance and timely repair of brick patches are essential to ensure the longevity and structural integrity of your property. By following the step-by-step guide outlined in this article, you can effectively address any brick patch repair issues and prevent further damage. Remember to always prioritize safety and consult with a professional if needed. With the right tools and knowledge, you can successfully maintain and repair your brickwork, preserving its beauty and functionality for years to come. Thank you for reading our essential guide to brick patch repair.


