

A brick fireplace can add warmth and character to any home, but over time, the grout between the bricks can become worn and discolored. Re-grouting your brick fireplace is a simple yet effective way to rejuvenate its appearance and ensure its longevity. In this professional guide, we will cover the essential steps and techniques for re-grouting a brick fireplace to achieve a clean and polished finish.
Table of Contents
- Preparation: Assessing the Condition of Existing Grout
- Materials and Tools Needed for Re-Grouting
- Steps to Remove Old Grout and Clean the Surface
- Techniques for Applying New Grout and Finishing Touches
- Q&A
- The Conclusion

Preparation: Assessing the Condition of Existing Grout
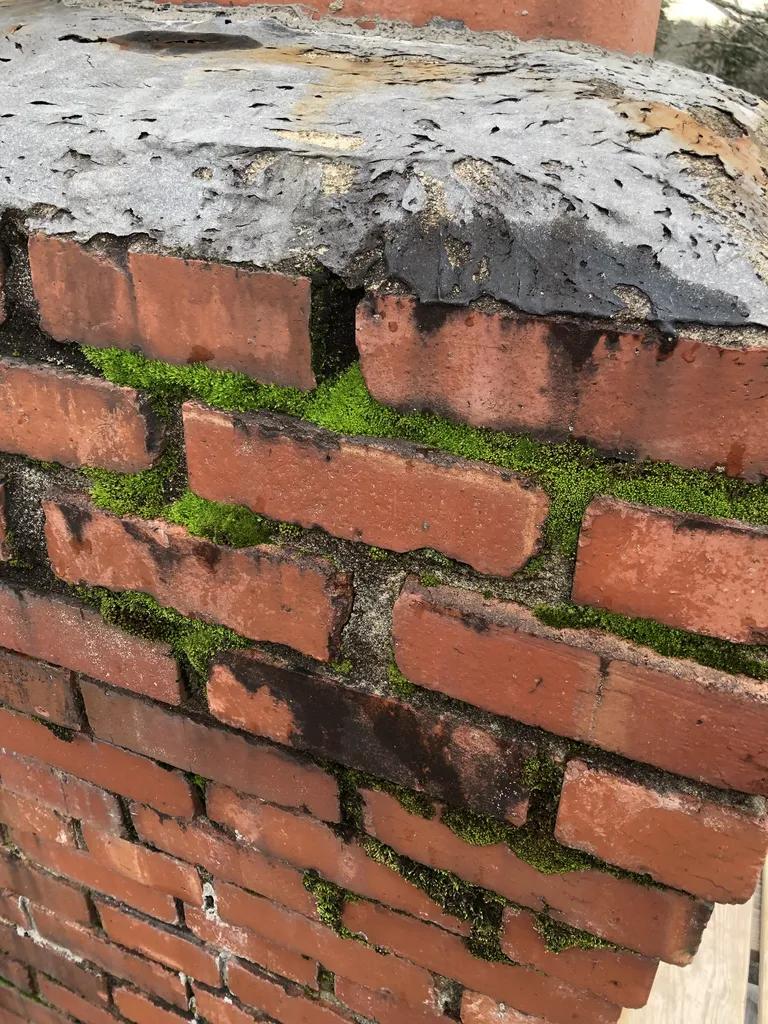
Before starting the re-grouting process, it is crucial to assess the condition of the existing grout on your brick fireplace. This step will help you determine the extent of the work required and the type of grout you will need. Here are some key factors to consider:
- Cracks and Damage: Check for any cracks or damaged areas in the existing grout. These areas will need to be repaired before re-grouting.
- Color Fading: Look for any fading or discoloration in the grout. If the color has significantly changed, you may want to consider removing the old grout completely and starting fresh.
- Consistency: Make sure the grout is still in good condition and has not started to crumble or erode. This will ensure a strong bond with the new grout.
By carefully assessing the condition of the existing grout, you can effectively plan out the re-grouting process and achieve professional results on your brick fireplace. Remember to take your time with this step to ensure a smooth and successful re-grouting project.
Materials and Tools Needed for Re-Grouting
Before you begin re-grouting your brick fireplace, it is essential to gather all the necessary materials and tools for the job. Here is a list of what you will need:
- Grout: Choose a high-quality grout that matches the color of your existing grout for a seamless finish.
- Grout Saw: Used to remove the old grout from between the bricks.
- Grout Float: Essential for applying the new grout evenly and smoothly.
- Bucket: To mix the grout in accordance with the manufacturer’s instructions.
- Sponge: For cleaning excess grout off the bricks after application.
- Protective Gear: Safety goggles, gloves, and a mask to protect yourself from grout dust and chemicals.
Additionally, you may also need a scrub brush for tougher grout stains and a sealer to protect the newly applied grout from moisture and dirt. Make sure to follow the recommended safety precautions and instructions provided with the materials and tools for a successful re-grouting project.
Steps to Remove Old Grout and Clean the Surface
To begin the process of re-grouting a brick fireplace, it is crucial to first remove the old grout and thoroughly clean the surface. This will ensure that the new grout adheres properly and the finished result is smooth and neat. Follow these steps to effectively remove old grout and prepare the surface for re-grouting:
- Start by using a grout saw to carefully scrape out the old grout from between the bricks. Be sure to wear protective goggles and gloves during this step to avoid any injuries.
- Once the old grout has been removed, use a vacuum cleaner or brush to clean out any loose debris and dust from the gaps between the bricks. This will create a clean and smooth surface for the new grout to adhere to.
After removing the old grout and cleaning the surface, it is important to take the time to properly prepare the area before applying the new grout. By following these steps diligently, you can ensure that your brick fireplace looks fresh and rejuvenated once the re-grouting process is complete.
Techniques for Applying New Grout and Finishing Touches
When re-grouting a brick fireplace, it is essential to pay attention to the techniques used for applying new grout and finishing touches. One important tip is to make sure that the surface is thoroughly cleaned before applying the new grout. Use a stiff brush to remove any debris or loose grout, and then wipe down the area with a damp cloth to ensure a clean surface for the new grout to adhere to.
Another technique to consider is using a grout float to apply the new grout. This tool helps to evenly distribute the grout across the surface of the bricks and ensures that all gaps and crevices are filled. After applying the grout, use a damp sponge to remove any excess and smooth out the surface. Once the grout has dried, apply a grout sealer to protect the new grout and give your fireplace a polished finish.
Q&A
Q: Why is it important to regularly re-grout a brick fireplace?
A: Over time, the grout between the bricks can deteriorate, leading to potential aesthetic issues and structural damage.
Q: What materials and tools are needed to re-grout a brick fireplace?
A: To re-grout a brick fireplace, you will need grout, a grout bag or trowel, a bucket for mixing the grout, a sponge, and a stiff brush.
Q: What is the process for re-grouting a brick fireplace?
A: The first step is to remove any loose or damaged grout using a grout saw. Next, mix the grout according to the manufacturer’s instructions and apply it to the joints using a grout bag or trowel. Once the grout has set slightly, use a sponge to clean off any excess grout, and then use a stiff brush to smooth out the joints.
Q: How long does it take to re-grout a brick fireplace?
A: The time it takes to re-grout a brick fireplace will vary depending on the size of the fireplace and the condition of the existing grout. On average, it can take anywhere from a few hours to a day to complete the re-grouting process.
Q: What are some tips for maintaining the newly re-grouted brick fireplace?
A: To ensure the longevity of the new grout, it is important to regularly clean the fireplace and avoid using harsh chemicals that can damage the grout. Additionally, periodically inspect the grout for any signs of wear or damage and address any issues promptly.
The Conclusion
In conclusion, re-grouting a brick fireplace can breathe new life into your living space and enhance the overall aesthetic appeal of your home. By following the steps outlined in this professional guide, you can confidently tackle this project and achieve a stunning result. Remember to approach the task with patience and attention to detail, as proper preparation and execution are crucial for a successful outcome. With the right materials, tools, and techniques, you can rejuvenate your fireplace and enjoy a fresh, clean look that will last for years to come. Thank you for reading our guide on how to re-grout a brick fireplace. Happy renovating!