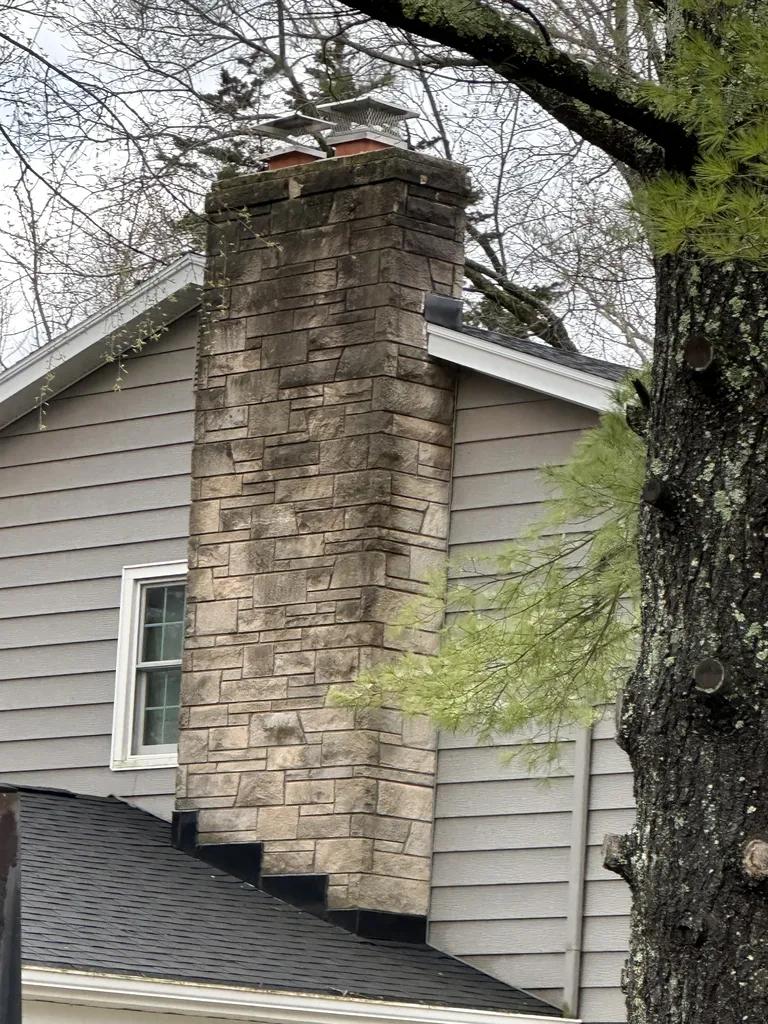
Wood stove pipes are a crucial component of a heating system, ensuring the safe and efficient removal of smoke and gases from the home. However, water leaks in these pipes can lead to potential risks such as structural damage and decreased performance. In this article, we will explore common causes of water leaks in wood stove pipes and provide troubleshooting tips to address these issues effectively. By understanding how to identify and resolve leaks in your wood stove pipe, you can ensure the continued safety and functionality of your heating system.
Table of Contents
- Identifying the Source of Leaks
- Potential Causes of Water Leaks in Wood Stove Pipe
- Tips for Repairing Leaks in Wood Stove Pipes
- Preventative Maintenance to Avoid Future Leaks
- Q&A
- To Wrap It Up

Identifying the Source of Leaks
When troubleshooting water leaks in a wood stove pipe, it is essential to identify the source of the issue to prevent further damage and ensure the efficient operation of your stove. Here are some common areas to check:
- Seams: Inspect the seams of the pipe for any signs of gaps, cracks, or loose fittings that could be allowing water to seep through.
- Condensation: Excessive condensation can sometimes be mistaken for a leak. Make sure the pipe is properly insulated to prevent condensation buildup.
- Rooftop: Check the connection point of the pipe to the roof for any signs of damage or deterioration that could be allowing water to enter.
| Source | Potential Issue |
| Seams | Gaps or cracks causing leaks |
| Condensation | Mistaken for leaks |
| Rooftop | Damaged connection point |
By carefully inspecting these areas and addressing any issues promptly, you can effectively troubleshoot water leaks in your wood stove pipe and ensure the continued safety and functionality of your stove. Remember to always prioritize safety when working with a wood stove, and if you are unsure about any repairs, consult a professional for assistance.

Potential Causes of Water Leaks in Wood Stove Pipe
When experiencing water leaks in a wood stove pipe, it is essential to identify the potential causes in order to address the issue effectively. One common reason for water leaks is inadequate sealing or improper installation of the pipe. If the joints are not properly sealed, water can seep through and cause leaks. Additionally, if the pipe was not installed at the correct angle or if there is a sag in the pipe, water may accumulate and eventually leak through.
Another possible cause of water leaks in a wood stove pipe is condensation. When the stove is in use, the temperature difference between the hot flue gases and the cool exterior of the pipe can cause condensation to form inside the pipe. If the condensation is not able to properly drain away, it can lead to leaks. It is important to inspect the pipe regularly for any signs of condensation buildup and ensure that it is adequately ventilated to prevent water leaks.
Tips for Repairing Leaks in Wood Stove Pipes
When dealing with water leaks in wood stove pipes, it is important to first identify the source of the leak. Inspect the pipes for any cracks, gaps, or corrosion that may be causing the issue. Use a flashlight to thoroughly examine the pipe for any signs of damage.
Once you have identified the source of the leak, there are several methods you can use to repair it:
- Sealant: Apply a high-temperature sealant to the affected area to prevent water from seeping through.
- Patching: Use a patch kit specifically designed for wood stove pipes to cover any holes or cracks.
- Replace Damaged Sections: If the damage is extensive, you may need to replace the damaged sections of the pipe entirely.

Preventative Maintenance to Avoid Future Leaks
Regular maintenance of your wood stove pipe is essential in preventing future leaks. By following some simple preventative measures, you can avoid costly repairs and ensure your wood stove operates efficiently for years to come.
- Inspect your wood stove pipe regularly for any signs of corrosion or rust.
- Clean the pipe at least once a year to remove built-up creosote and other debris.
- Ensure the pipe is properly sealed at all connections to prevent leaks.
- Monitor the temperature of your wood stove to prevent overheating, which can weaken the pipe.
By taking these preventative maintenance steps, you can enjoy a safe and efficient wood stove for years to come. Remember, a little maintenance now can save you a lot of trouble down the road!
Q&A
Q: What are common causes of water leaks in wood stove pipe?
A: Common causes of water leaks in wood stove pipes include damaged pipe joints, improper installation, and condensation buildup inside the pipe.
Q: How can I locate the source of a water leak in my wood stove pipe?
A: To locate the source of a water leak, carefully inspect all pipe joints, rivets, and seams for any signs of damage or rust. Look for water stains or drips on the exterior of the pipe as well.
Q: Can condensation cause water leaks in wood stove pipes?
A: Yes, condensation can cause water leaks in wood stove pipes. If hot flue gases come into contact with the cooler pipe walls, condensation can form inside the pipe and leak out through joints or seams.
Q: How can I prevent water leaks in my wood stove pipe?
A: To prevent water leaks, ensure that your wood stove pipe is properly insulated and vents straight up and out of your home. Additionally, regularly inspect and maintain your pipe to prevent damage and check for any signs of leaks.
Q: What should I do if I find a water leak in my wood stove pipe?
A: If you find a water leak in your wood stove pipe, first try to locate and repair the source of the leak. If the leak persists, consider contacting a professional for further assistance to prevent any potential damage to your wood stove or home.
To Wrap It Up
In conclusion, detecting and fixing water leaks in wood stove pipes is crucial for the safety and efficiency of your stove. By following the troubleshooting steps outlined in this article, you can identify and address any leaks in a timely manner. Remember to always prioritize safety when working with wood stoves and consult a professional if you are unsure about any repairs. Keep your stove in top condition to ensure it continues to provide warmth and comfort for years to come. Thank you for reading and happy troubleshooting!


